~Colette
Saturday, November 24, 2012
NOTD: Gemmed Funky French + Tutorial
~Colette
NOTD: Purple w/ Pink Flowers Matte
~Colette
NOTD: Purple with Pink Flowers Drag Marble + Tutorial
Drag marbling is to me a great example of low investment high payout, because it's so easy & can be so impressive. This one I used OPI Vampsterdam as the base color, and the flowers are done with China Glaze Mistletoe Me! With the rhinestone in the middle I didn't have to worry as much about bald patches caused by dragging from the center:
Here's the tutorial:
Thanks for reading.
~Colette
Saturday, November 17, 2012
NOTD: Black & Silver Circles Nail Art + Tutorial
This design started out with a base color of Savvy Chrome, which while it doesn't dry to an actual chrome finish, it is a very nice silver & does not have any issues with brush strokes:
On top of that I added some broken concentric circles with black acrylic & a clear rhinestone in the middle:
Here are my favorite nails:
And here is the tutorial:
Thanks for reading =)
~Colette
Monday, July 4, 2011
NOTD: 4th of July Rhinestone French + Tutorial
Wednesday, January 19, 2011
NOTD: Maybelline Gray-T-Glamour + bm03 Pink Flowers
Sunday, May 23, 2010
All The Cool Kids Are Doing It ...
So, I'm pretty well set for glittery bits for a while LOL. I think I'm going to get some large-size labels & see how it works for backing on the plates, since they are so thin & sharp.
Thanks for reading.
~Colette
Sunday, March 21, 2010
NOTD: Icing Lady Lucky
Monday, December 14, 2009
NOTD: Christmas Trees + Tutorial
But I've gotten a lot of compliments the past couple days wearing this so maybe I am being too self-critical again.
I used OPI Suzi Skis in the Pyrenees Suede as the base color, the tree is done with Sally Hansen Emerald City, and the ornaments are done with OPI Dreaming of Red & Dazzled by Gold. Originally I was going to leave this mani with no topcoat, but then I changed my mind, so the first couple pics are comparison shots for you - index & middle no topcoat, ring & pinky with topcoat:
My hands kind of look like they're floating or photoshopped in on the picture with the snow background. Kind of weird but I think I like it ... I should give my mom credit because she is the one behind the camera when both my hands are in the shot =)
Here is the tutorial:
I so far always have had more things to say after the tutorial, so I'm glad I have my blog to ramble on after the fact LOL. I suppose I could write myself a script, but how exactly as I supposed to read that while I'm looking at my nails? I usually just jot a few thoughts & key points down, like the correct names for all the polishes, and fly by the seat of my pants =) It's getting a little less nerve-wracking, but I still get a little nervous feeling hoping I won't verbally stumble around too much or totally screw up the mani LOL.
Thanks for reading.
~Colette
Wednesday, October 14, 2009
NOTD: Barielle Glammed Out Garnet w/ Spiderweb French Tip
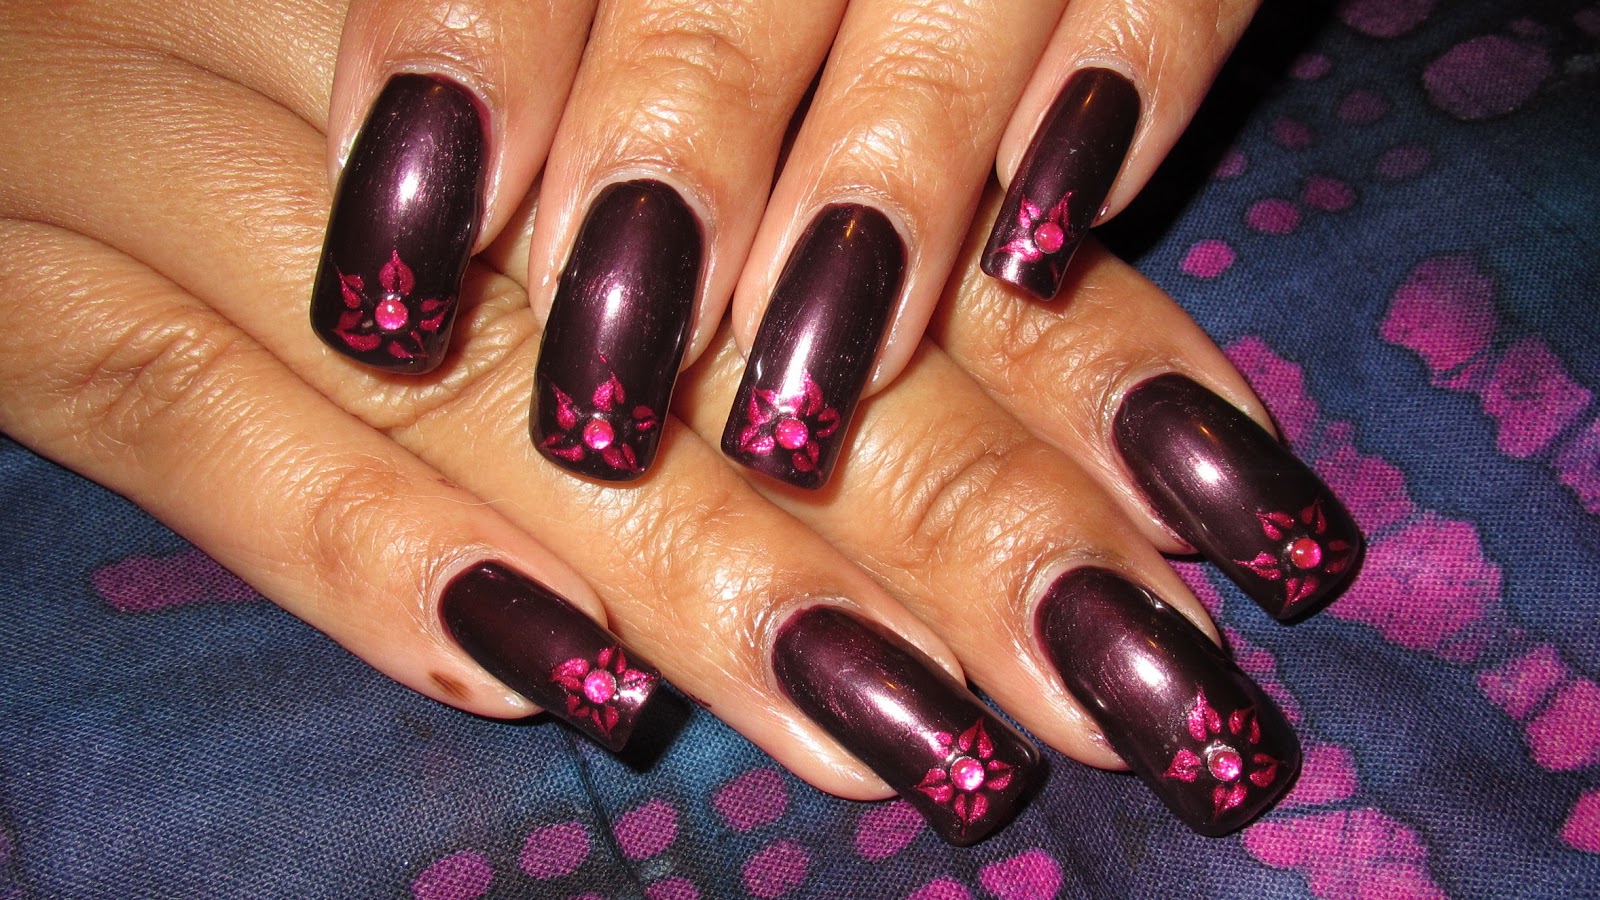
I started off with a base color of Barielle's Glammed Out Garnet, from the All Lacquered Up collection:


I unfortunately don't have any drugstores nearby that sell this brand, but the Barielle website has buy 2 polishes get 1 free, free shipping over $50.00, and you get a discount code as soon as you become a member, so I don't exactly mind shopping there. Aaand if you click the link above or on the right sidebar, you do happen to help our yours truly =)
On to the nail art. I used China Glaze Devotion for my webs, and added a rhinestone both for added bling & to cover the tip of my nail which ended up a little bare without it. Like I said, not my favorite ever, but still cool:


One of these days I'd also like to do this technique the original way & make flowers instead of webs. So much nail art, so little time =) Thanks for reading.
~Colette